-
10월 27일 금요일 TIL 회고록카테고리 없음 2023. 10. 28. 02:28
구글 OAuth2 로그인 구현
1) application-oauth.yml 구글 OAuth2 설정
구글은 스프링에서 Provider 정보를 내부에서 제공해주기 때문에 설정해주지 않았다. client-id, client-secret,, scope 정보만 기입해주었다.
spring:
  security:
    oauth2:
      client:
        registration:
          google:
            client-id: 구글 클라이언트 ID
            client-secret: 구글 클라이언트 Secret
            scope: profile, email
2) 구글의 유저정보 Response JSON 예시를 참고해서 스프링 코드 작성
구글의 유저 정보 Response JSON 예시
{
   "sub": "식별값",
   "name": "name",
   "given_name": "given_name",
   "picture": "https//lh3.googleusercontent.com/~~",
   "email": "email",
   "email_verified": true,
   "locale": "ko"
}
GoogleOAuth2UserInfo.class
public class GoogleOAuth2UserInfo extends OAuth2UserInfo {

  public GoogleOAuth2UserInfo(Map<String, Object> attributes) {
    super(attributes);
  }

  @Override
  public String getId() {
    return (String) attributes.get("sub");
  }

  @Override
  public String getNickname() {
    return (String) attributes.get("name");
  }

  @Override
  public String getImageUrl() {
    return (String) attributes.get("picture");
  }
}
구글은 이전에 했던 네이버,카카오와 달리 유저 정보가 감싸져 있지 않기 때문에 바로 attributes.get 으로 유저 정보 Key를 사용해서
필요한 Value 값들을 가져왔다.
3) 구글 OAuth2 로그인 테스트
먼저 여기에서 구글 아이디로 로그인하기 (Sign in with Google) 이미지를 저장한 후, vs code에서 <a> 태그로 이미지를 불러왔다.
<a href="http://localhost:8080/oauth2/authorization/google"><img src="image/web_light_sq_SU@1x.png"></a>
Sign up with Google 버튼을 클릭하면 Google 인증 페이지로 이동한다.
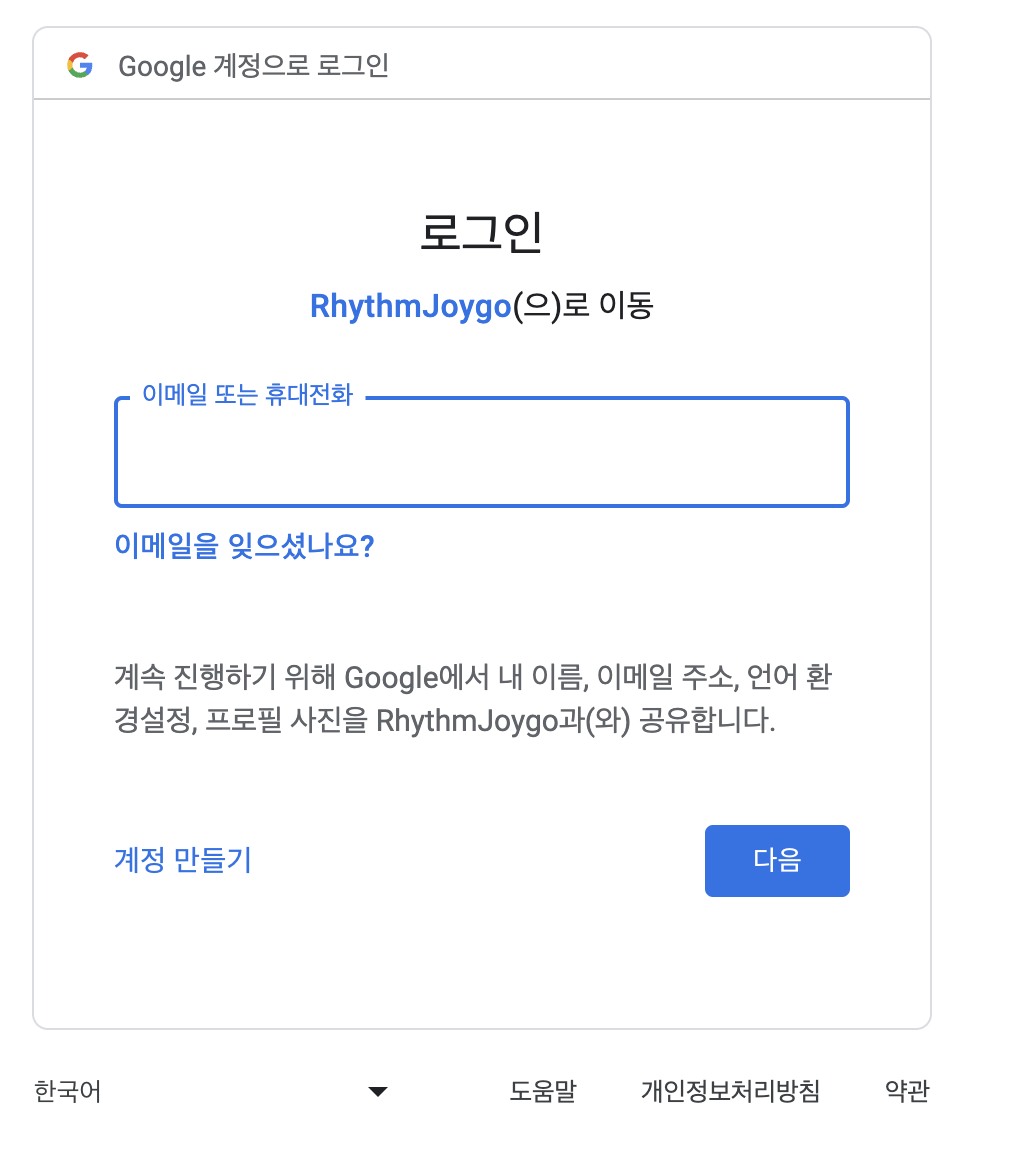
로그인을 하면 CustomOAuth2UserServiceImpl.loadUser() 메서드가 실행되고, OAuth2LoginSuccessHandler가 실행되며
OAuth2 Login이 성공한다.
c.l.r.c.a.s.CustomOAuth2UserServiceImpl  : CustomOAuth2UserServiceImpl.loadUser() 실행 = OAuth2 로그인 요청 진입
c.l.r.c.a.h.OAuth2LoginSuccessHandler    : OAuth2 Login 성공!
h2-console 에서도 유저 정보가 잘 등록되었다.
